Showing posts with label Handmade. Show all posts

Saturday, December 24, 2011

The earrings all made up.


Some internet searching for 'vintage Christmas cards' found me a delightful assortment of old vintage Christmas images. I settled upon a snow scene depicting a small village and a handful of residents, dressed in their best surrounding a tree.

I printed the pictures off and laminated them to stabilize, then punched little holes in the now 'presentation cards' using a pin to allow for the earrings to attach.


I really am quite pleased with how these turned out. Like I said, a simple search on Etsy for 'resin flowers' will unearth more choice of colours, sizes and styles than you ever thought possible (well, almost!). Cheap to make compared to the price you would pay for these at most market stalls.

Simply change the image of the presentation card for this to be an any-time-of-year gift!

Sam xox

Friday, December 23, 2011

Handmade Liberty pin cushion.


Made from Liberty of London 'Wiltshire' fabric.
14 x 1" hexagon cardboard templates.
English paper piecing method.
Hand stitched together.
A little Christmas gift for me.

Sam xox
If you want to learn how to sew with the English paper piecing method, this video demonstrates it well.

Saturday, December 17, 2011

Merrens' wreath.

I wanted to share with you some photos of the Christmas wreath my mother in law Merren made this year, because I think it is beautiful...


She used some dried fruit, cinnamon sticks, and pieces of hessian cloth tied into bows for her decorations. Her tip when working creatively? Work with odd numbers - 3's, 5's, 7's, as this is always most pleasing to the eye.


Tomorrow I'll share with you some other inspiring wreaths I've found.

Sam xox

Friday, December 16, 2011

Handmade earrings.


These earrings are really easy to make. Here's what you needs:

A bag of earring studs.
Resin flowers (Etsy has lots of different sizes, colours and styles).
Super glue gel.
20 minutes.

> Glue stud pieces to each flower.
> Allow time to dry.
> Arrange pairs of studs on decorated card stock.
> Wrap in brown paper and twine and place under the tree.

Sam xox

Thursday, December 15, 2011

Dried fruit and cinnamon wreath.


This wreath is basically a total copy of a wreath Ally gave my mother-in-law last Christmas. It smells delicious and is relatively simple to put together, however the fruit needs a few days to be prepared.

To make this wreath, you will need to dry some apple, orange, and lemon slices. I dried my lemon and orange slices first outside for a few days, then finished them off in the oven at a low temperature. The apple slices did not need long in the oven (make sure you keep an eye on them!).


You will also need some cinnamon sticks, dried chilies, thick bendable wire, wire snips, and some ribbon.

If you're anything like me, divide your fruits, cinnamon sticks and chilies to form a pleasing pattern (you can also freestyle your wreath and just thread it all on randomly). Bend your wire into a wreath shape, remembering to leave some wire at each end for securing. Thread it all onto your wire, then secure wreath by looping the ends together and snipping the extra wire off. Cover up the ugly loop bit by tying a big red bow around it, then find somewhere nice for it to hang.


~ Allow this wreath to gently fill your home 
with the scent of citrus and cinnamon ~

Sam xox
Wednesday, December 14, 2011

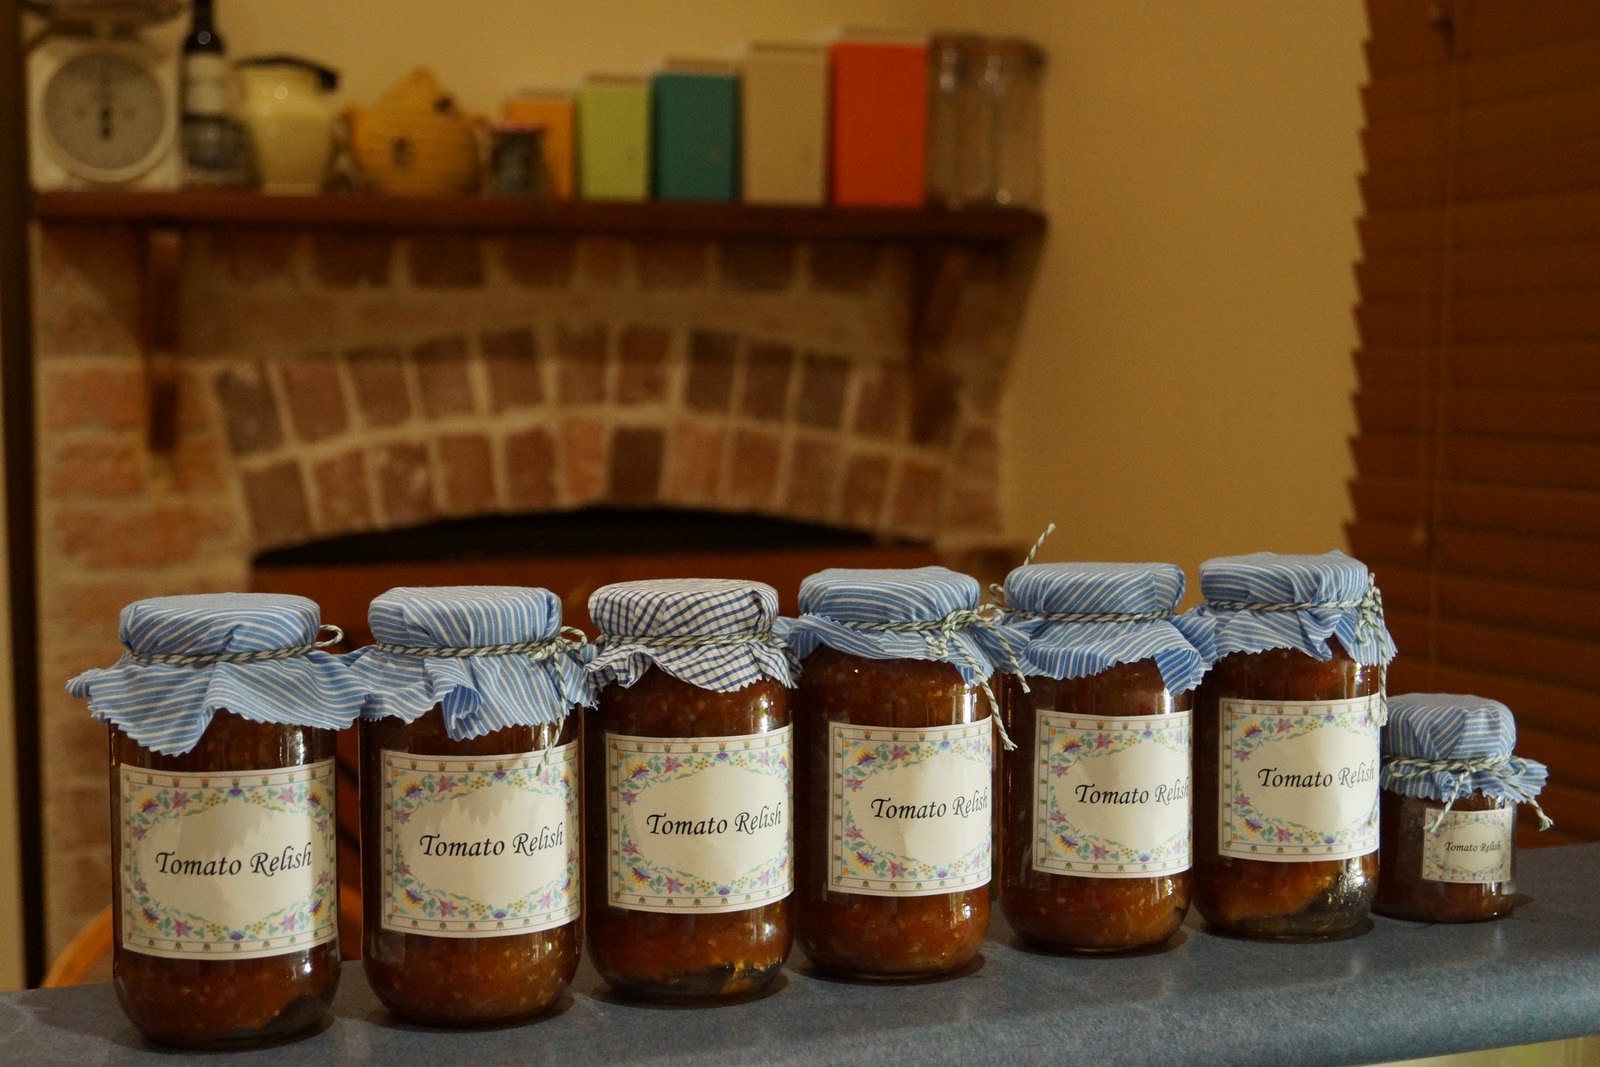
Tomato relish.


This Christmas I will be filling the stockings of my nearest and dearest with homemade food items. This weekend I whipped up a batch of tomato relish, following an old family recipe. I can't share it with you, but I did find one that is quite similar here.

Having planted eight tomatoes plants a few months ago, I am now flooded with ripe tomatoes ready for picking. This causes a little trouble seeing that my dear hubby hates tomatoes, so there is no way we I am able to eat through them all. That's where tomato relish comes in...


My recipe calls for 3kg of tomatoes. I was able to provide this purely from my veggie garden (and yep this did make me feel kinda good!).


Here's a tip. If you need jars to store this sort of thing, but just don't have enough stockpiled, instead of buying empty jars from the supermarket (these were $2.45 each) try finding a food product sold in jars that you can store another way at home. For example, I purchased spaghetti sauce ($1.89), was able to transfer the sauce into bags and store in the freezer to be used later on. I was then left with six large jars which I washed, then sterilised in the oven. Here's a how to guide for steralising jars.


I transferred the hot mixture into the hot jars, sealed then left them standing on their lids to dry. This creates a seal.


Once cool I covered the lids with scraps of fabric cut into circles with pinking sheers, then secured with twine. I labelled each jar with homemade labels I found here. I simply opened the image in 'paint' and added the text in the space.


Sam xox
Monday, December 12, 2011

Matryoshka Christmas tree decorations.

My handmade decorations for 2011 are these matryoshka dolls. After blogging about them in October, I kept thinking about them, so I knew I had to make some. I printed off the free pattern  from Sew to Speak and whipped up three little ladies. Three more need to be made before Christmas day arrives as I think a set of six would be a nice amount.

 Doll #1 (My favourite)

 Doll #2 (I regret this colour combination)

 Doll #3 (A matchy matchy doll)

They look lovely hanging on the tree...


The best part about this project was the tiny tiny cost of making these dolls. I would estimate each doll cost me less than $1 to make. And they only require basic needlework skills, so they would be great for kids to make (perhaps enlarge the pattern first though - some of these pieces were tiny).

Sam xox
Sunday, December 11, 2011

Christmas banner.

This week I want to share with you a variety of Christmas craft projects I have made over recent weeks.

First up is this "Merry Christmas" banner...


This craft project was inspired by a banner my mother in law saw recently in Bowral, NSW. These banners are cheap to make and are really quite simple.


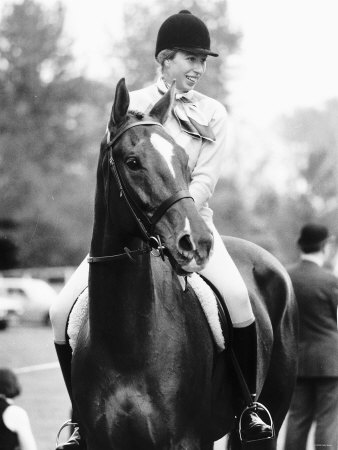
The letters were cut out from pages from Princess Anne's equestrian memoirs. This resulted in almost all my cut out letters containing words referencing horses or royalty - quite Christmas chic I think.

~ Princess Anne was quite a stylish rider ~


I used Microsoft Word to make the templates for these letters. Just be careful that the letter templates are not too big for the books' pages, and also make sure you trace them parallel to the lines of writing, otherwise it looks a bit slanted and awkward.

Sam xox

Monday, October 31, 2011

Is it too early to plan handmade Christmas tree decorations?

I know it is the last day of October, but my mind can't help clicking over, thinking about all the fun crafting/cooking/decorating activities that lay ahead over the next two months.

Purchasing the ingredients needed for my fruit cakes.

Dusting off the Christmas decorations and tree.

Visiting the QVB Christmas tree.

Purchasing a Christmas decoration for 2011.

A mad rush to finish handmade presents.

Hanging our Christmas stockings.

Deciding which handmade decoration to make for Christmas 2011...

~ found here ~

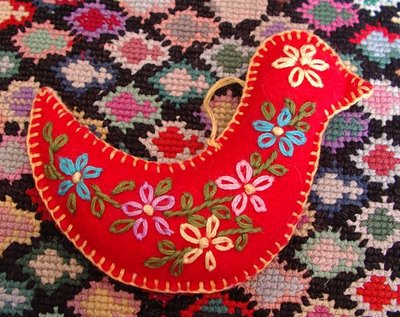
I am definitely going to make a set of these dollies!

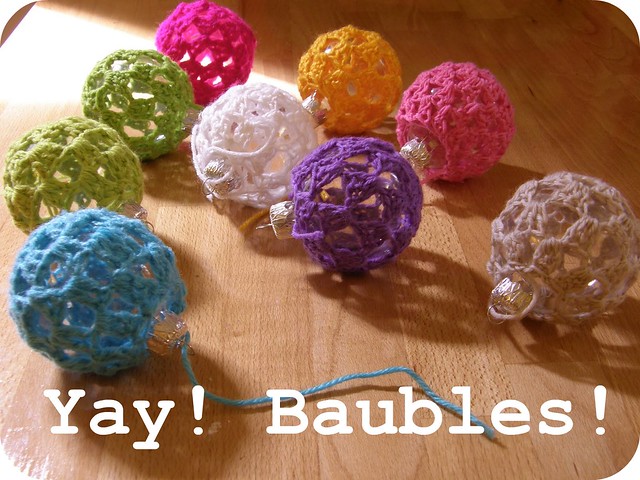
Baubles
~ found here ~

~ found here ~

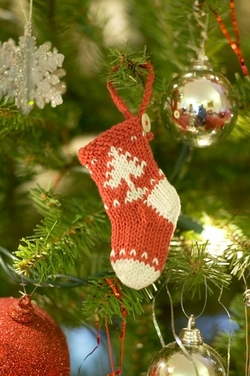
Tree_stocking
~ found here ~

Ribbon and bead ornament
~ found here ~

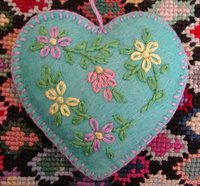
Appliqued Heart Christmas Ornament
~ found here ~

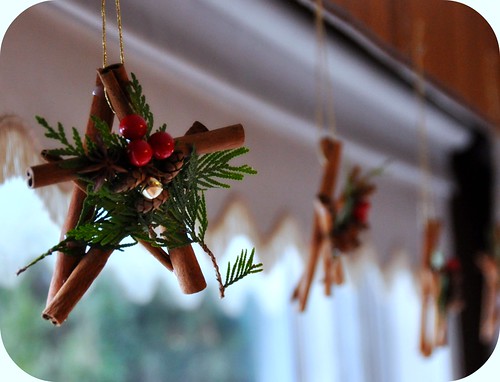
Holiday Star Ornaments
~ found here ~


&

~ both found here ~

OR-Beauty-2
~ found here ~

I hope some of these inspire you to make your own Christmas tree decoration this year. Mill and I are going to have a hard time deciding which decoration we will both make this year :-)

Sam xox

Saturday, June 12, 2010

My wedgewood quilt.

I have had to keep this quilt under wraps for a while now... let me start from the beginning.

My dear sister-in-law Ally recently moved to Germany with her husband and 1 year old daughter. They will be there for a few years, and are having lots of fun discovering what life is like living as ex-pat's in a European country. My MIL and FIL have gone on a trip to visit her, and as a gift my MIL made Ally a quilt from the shirts of her late Grandpa, my MIL's Dad. This was not only a very touching project that my MIL undertook, but also an inspiring one.

As we know, fabrics can be reused to make quilts. Woman have been cutting up colourful fabric scraps to make quilts for their home and family for centuries. Feedsacks were very popular during the depression as a source of bright and somewhat easily obtainable cotton fabric. All those 1930's quilts you see with distinct colourful patterns against a multitude of cream muslin reflect those times.
More recently, many of you who follow Nancy's blog will remember her amazing 7-shirt quilt she designed and made.

So my MIL has inspired this quilt I will show you. I forgot to take a photograph of the one she made before she left for her trip, but I am sure if I ask Ally really nicely she would be only too happy to send me a photo of it in its new home! You will all love it.

So here is the big reveal!

I call it my Wedgewood Quilt as it reminds me of English Wedgewood China.

Made from only 6 mens shirts (large & extra large sizes) I managed to make an entire quilt top. The quilt top itself only cost $30 total to make! The central panel is made from 6 inch squares and the boarder is 5 inches. The quilt itself actually turned out a lot larger than I had intended it to be, but you know what its like when you are in the moment, you just keep on sewing. Plus I felt bad having left over fabric.

I added the boarder to use up all the little bits left over, and included that tiny narrow solid blue first boarder to set the centre panel off from the boarder. I am doing very simple hand quilting on it, which is a nice change from my Vintage Quilt, which just seems to be taking forever to finish because of all the little fiddly hand quilting bits. After a while, the quilting on that quilt does not become fun. I backed the Wedgewood Quilt with blue and white striped shirting fabric from a local fabric store.


My MIL enjoyed making Ally's quilt so much, that I think she will make one for herself when she gets back to Australia!

So a very big thanks Merren for inspiring this quilt and letting me copy your design! You always have such neat ideas!

* * * * *

On another note. Thank you all for your suggestions for the 4th of July party! I have told them to Mill and she loves them. Buying and using fireworks is actually illegal in Australia, so we have decided to take Elizabeth's suggestion and light sparklers instead.

Food decided on so far:
Mini hot dogs
Macaroni cheese
Homemade potato salad
Mini apple pies
Red velvet cupcakes

Can anyone tell me what root beer is?

Sam xox